Getting Started with RateMind
Set up your first survey and start collecting feedback in five minutes.
This walks you through your first survey end to end. By the end you'll have a working feedback loop: customers click a rating, happy ones land on your public review page, unhappy ones tell you privately so you can fix things before they go public.
The whole setup takes about five minutes. Don't overthink any single setting — every field on this page can be changed later.
Why this flow exists
Most businesses ask every customer to "leave us a Google review." Happy customers usually don't bother. Unhappy ones are motivated and they show up. The result is a public rating that's worse than reality.
RateMind splits the audience at the door. The rating question goes first; the routing happens *after* you know how the customer feels. That single change is what makes the rest of the product matter.
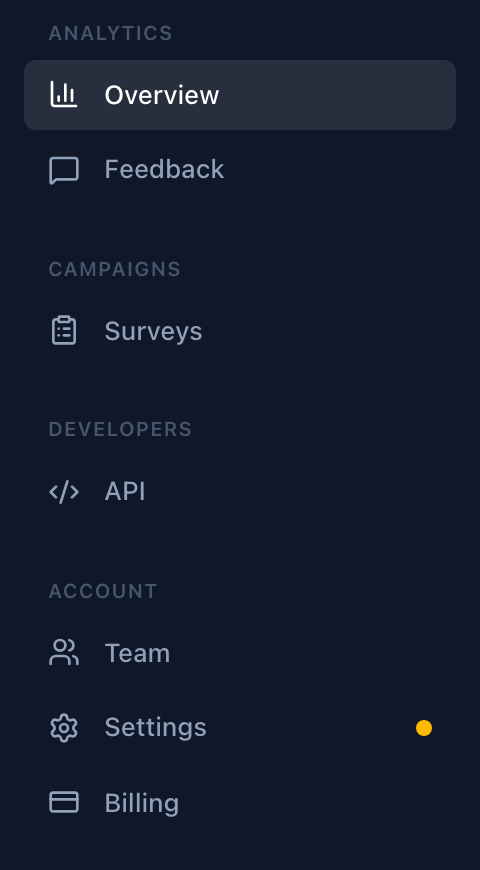
1. Open the Surveys page
Everything starts here. Click Surveys in the left sidebar.
If you don't see a sidebar at all, you're probably on a small screen — open the menu from the hamburger icon at the top.
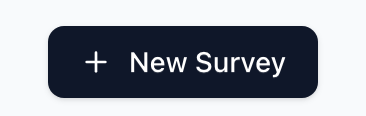
2. Create a new survey
Click the New Survey button at the top right of the surveys page.
Give it a name you'll recognize internally — "Restaurant Feedback", "Post-Visit Survey", whatever fits. Customers never see this name. If you run several locations or product lines, name surveys after them so the feedback feed stays organized.
3. Write your welcome message
This is the first thing your customer sees when they open the survey. Keep it short and human — one question and one sentence is plenty.

The headline is the question itself ("How was your dining experience?"). The description is the reassurance ("Your feedback helps us serve you better. It only takes a minute."). Default copy works fine if you're in a hurry — you can refine it later.
A few things to avoid: don't ask for the review in the headline ("Please leave us a Google review!"), don't promise anything ("Get 10% off!"), and don't make it sound like an obligation. The whole point is that the customer hasn't committed to anything yet — they're just answering a question.
4. Pick where happy customers go
This is the most important setting. Choose a review platform, then paste the link to your review page.
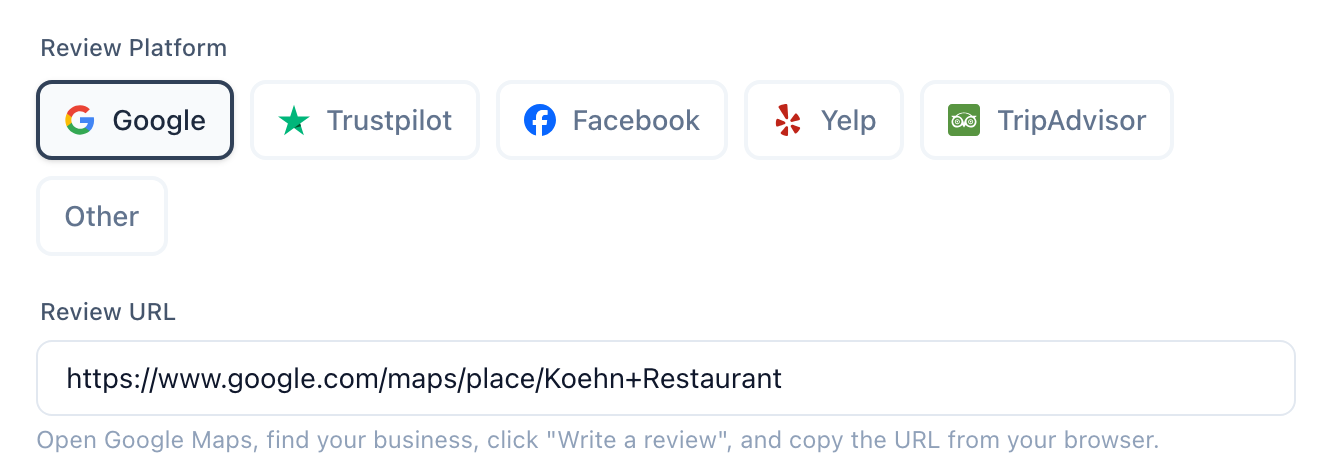
Each platform has a hint under the URL field telling you exactly where to find your link. If you're not sure, our guides cover [Google](/help/email-bcc-setup), Trustpilot, Yelp, and TripAdvisor.
By default, anyone who rates you 4 stars or higher gets redirected to this URL. Anyone who rates lower stays on your survey and answers your follow-up questions privately. You can change that threshold further down on the same page — some businesses use 5 stars (strictest), some use 3 (most permissive). Start with the default unless you have a strong opinion.
If you don't have a Google or Trustpilot profile yet, pick Other and paste any URL you want. You can also leave the URL empty for now and everyone will see the internal feedback form — useful if you just want to collect private feedback without routing.
5. Share it with your customers
Click the Share & Collect tab. You have three ways to get the survey out — pick whichever fits your workflow.
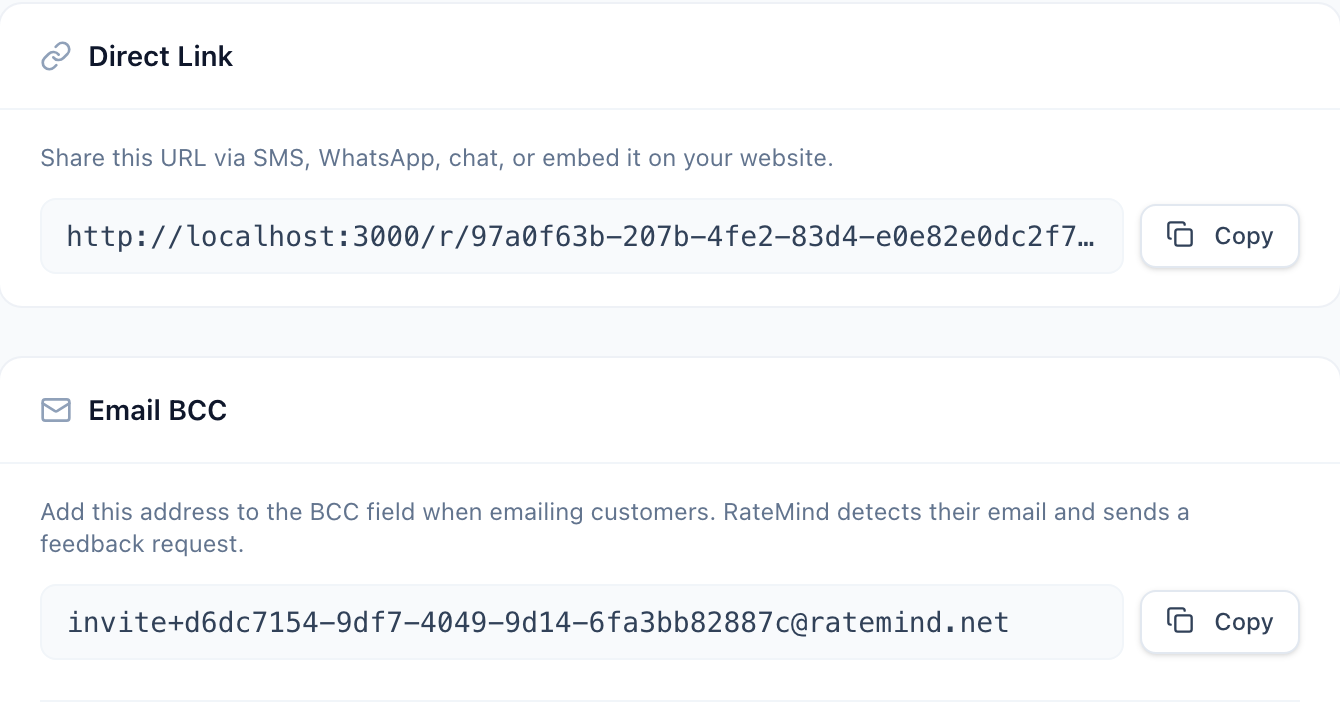
- Direct Link — copy and paste anywhere: SMS, WhatsApp, your website, a printed flyer. Best when you have a moment with the customer and can send them the link directly.
- Email BCC — add the BCC address to any email you send a customer. RateMind reads the recipient's address and sends a feedback request automatically a configurable delay later. See [BCC Email Setup](/help/email-bcc-setup) for the full setup.
- QR code — also under this tab, download a QR code to print on receipts, table tents, or packaging. See [QR Codes](/help/qr-codes) for placement tips and how the QR flow handles anonymity.
Most businesses end up using two of the three. Email BCC works for any business that emails customers (confirmations, invoices, follow-ups). QR codes are unbeatable for in-person experiences. Direct links cover the rest.
You're done
That's it. The first response will show up under Feedback in the sidebar as soon as someone fills out the survey. From there, RateMind extracts topics from comments, tracks ratings over time, and routes anyone unhappy straight to a private follow-up.
Next steps worth a look:
- [Creating and Configuring Surveys](/help/creating-surveys) — full reference for every field on the survey page
- [Using the Form Builder](/help/survey-form-builder) — add custom questions for unhappy customers so you learn *why* they rated low
- [Understanding Your Analytics](/help/analytics-dashboard) — what the topic spotlight does and how to read the feedback feed