You can go from zero to collecting feedback in under 5 minutes. Let's walk through it.
Step 1: Create Your Account
Sign up at ratemind.net/register. You'll need an email address and password. No credit card required. The free plan lets you create one survey and collect up to 50 responses per month.
Step 2: Create a Survey
After onboarding, you'll land on your dashboard. Click "Create Survey" and give it a name (e.g., "Customer Feedback" or "Post-Visit Survey").
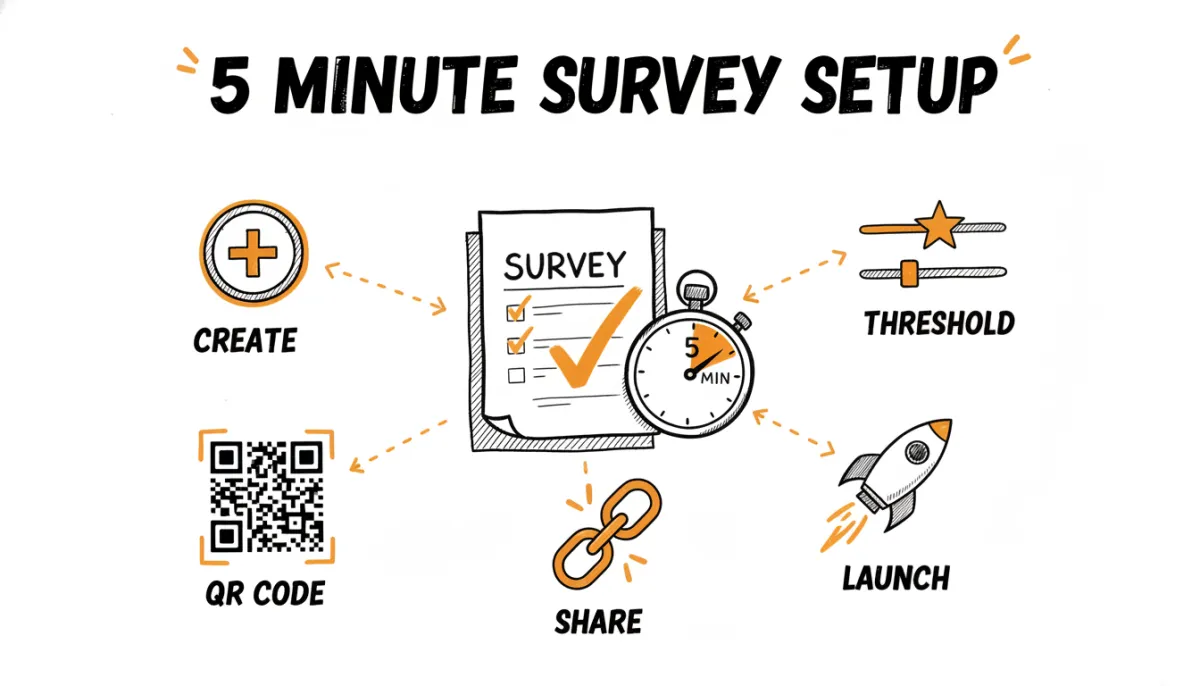
Step 3: Set Your Review URL
In the survey settings, paste the URL of your review platform. This is where happy customers will be redirected. It can be your Google review link, Trustpilot page, or any other URL.
Not sure where to find your review link? Check our guides for Google, Trustpilot, Yelp, and TripAdvisor.
Step 4: Set the Rating Threshold
The threshold determines which customers go to your review page and which see the private feedback form. The default is 4 stars:
- 4-5 stars → Redirected to your review platform.
- 1-3 stars → See a private feedback form.
You can adjust this per survey. Some businesses use 3 stars as the threshold, it depends on your comfort level.
Step 5: Add Follow-Up Questions (Optional)
For customers who rate low, you can add custom questions to understand what went wrong. Common choices:
- A free-text question: "What could we improve?"
- A multiple-choice question about specific aspects of the experience.
- An NPS question: "How likely are you to recommend us?"
Step 6: Share Your Survey
Your survey is ready. You have three ways to share it:
- Copy the direct link and share it via SMS, WhatsApp, or embed it on your website.
- Download the QR code and print it on receipts, packaging, or table tents.
- Use Email BCC by adding your survey's unique email address as BCC when you email customers. RateMind picks it up automatically.
That's it. Your first response will show up in your dashboard within minutes.